Chasing the Pac-Man Nebula: A Multi-Night Triumph Under Moonlit Skies
Hey stargazers! After a month-long break from summer military training and persistent clouds, I’m back under the Tennessee skies, diving into my first multi-night imaging project from August 9-11, 2025. Targeting the Pac-Man Nebula (NGC 281) with my 8” Celestron EdgeHD, I tackled a near-full moon (~98%) using my L-eXtreme filter to cut through the moonlight and northern light pollution. The result? A stunning 10.8-hour capture that blew my mind with detail. Here’s the full story from the NocturnalLedge!
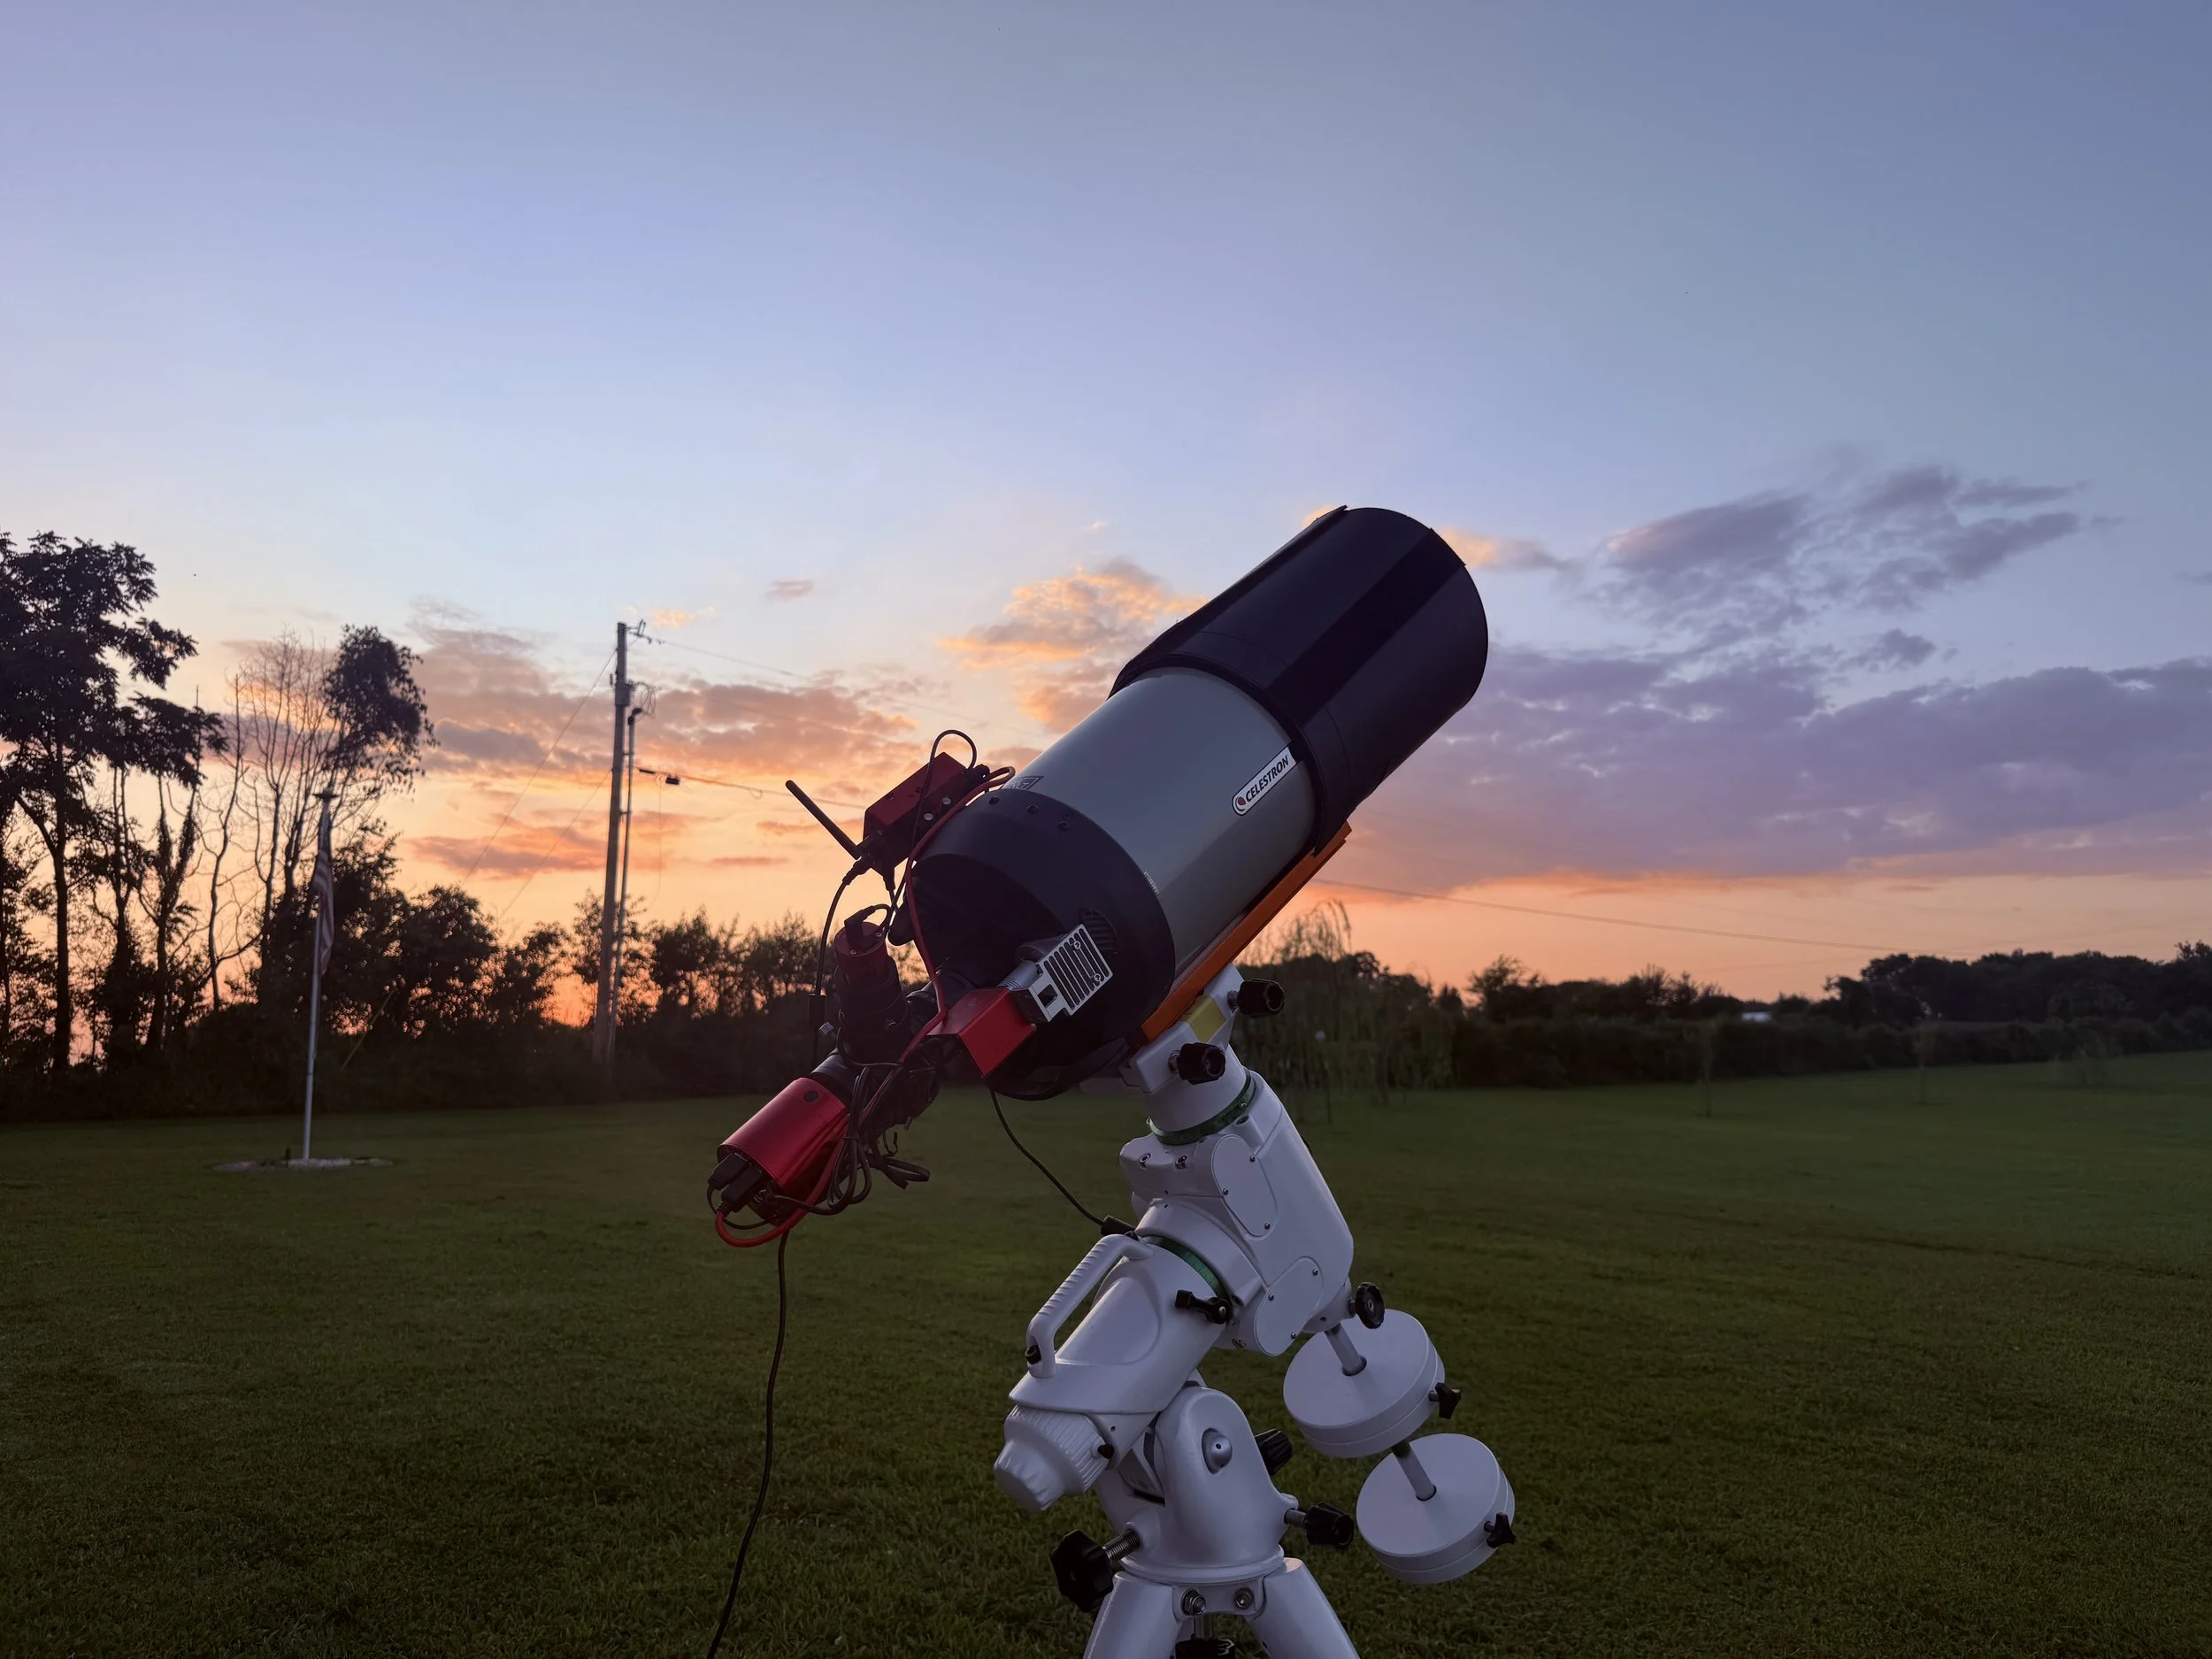
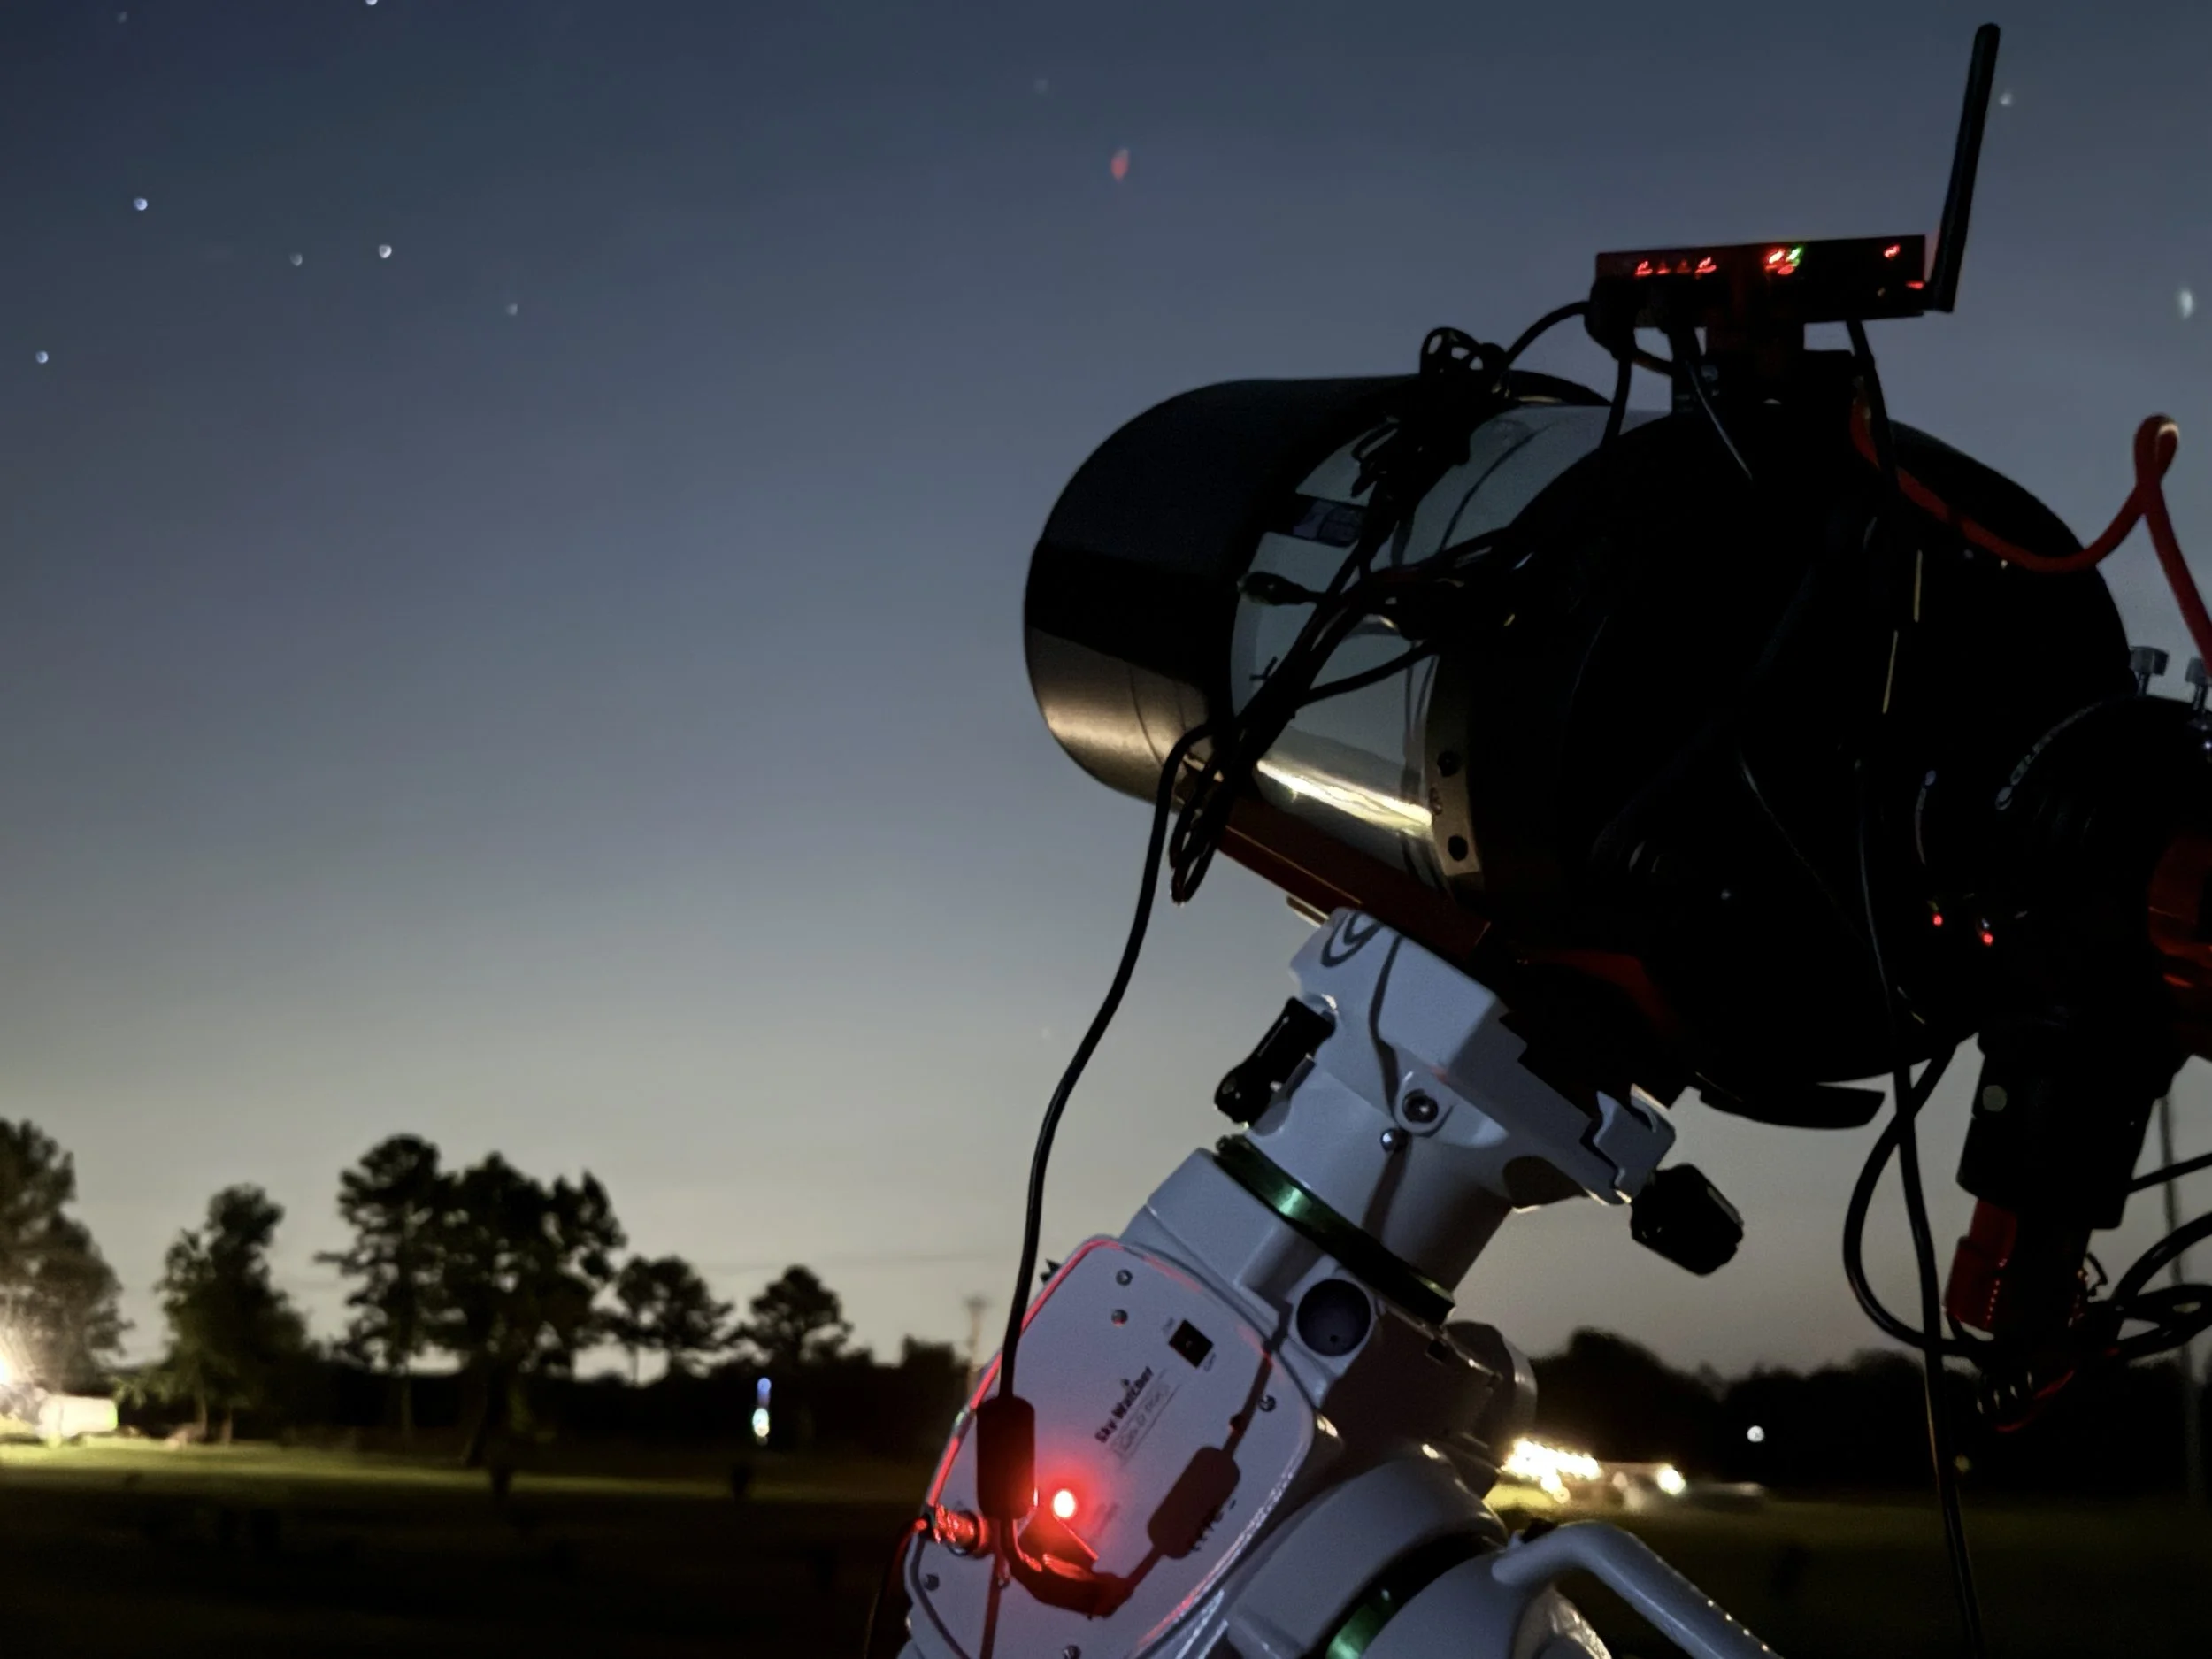
Setup at dusk
The Setup
Target: Pac-Man Nebula (NGC 281).
Equipment:
Telescope: 8” Celestron EdgeHD with 0.7x reducer for crisp deep-sky views.
Camera: ZWO ASI294MC Pro (cooled to 14°F, Bin1 mode).
Filter: Optolong L-eXtreme in a ZWO 2" Filter Drawer, tackling moonlight and light pollution.
Guider: Celestron OAG with ZWO ASI174MM Mini.
Mount: SkyWatcher EQ6-R for steady tracking.
Accessories: ZWO EAF for precise focusing, Dew-Not Straps & Shield to fend off moisture.
Control: ASIAIR Plus 256GB for automated imaging.
Plan:
130 light frames (300s, Bin1) over two nights: 60 on night 1 (5 hours), 70 on night 2 (5.8 hours).
Dither set to 10 pixels every 3 frames; autofocus every 30 minutes or 3.6° temperature shift.
Using pre-existing master darks, created seasonally.
Conditions: Temps dropping from ~73°F to 68°F, excellent seeing, average transparency, bright moonlight (~98% on night 1, ~97% on night 2).
The Night’s Challenges
Night 1: Setup, Ice, and Bugs (August 9-10)
The day started with repainting the living room and mowing the yard, but as dusk fell, I set up to acclimate. I attempted flats at around 7:30 pm, but ice crystals formed on the sensor just before sunset, so I stopped after eight frames and postponed them to the morning. I warmed the sensor to 40°F and cooled it back down to clear the ice.
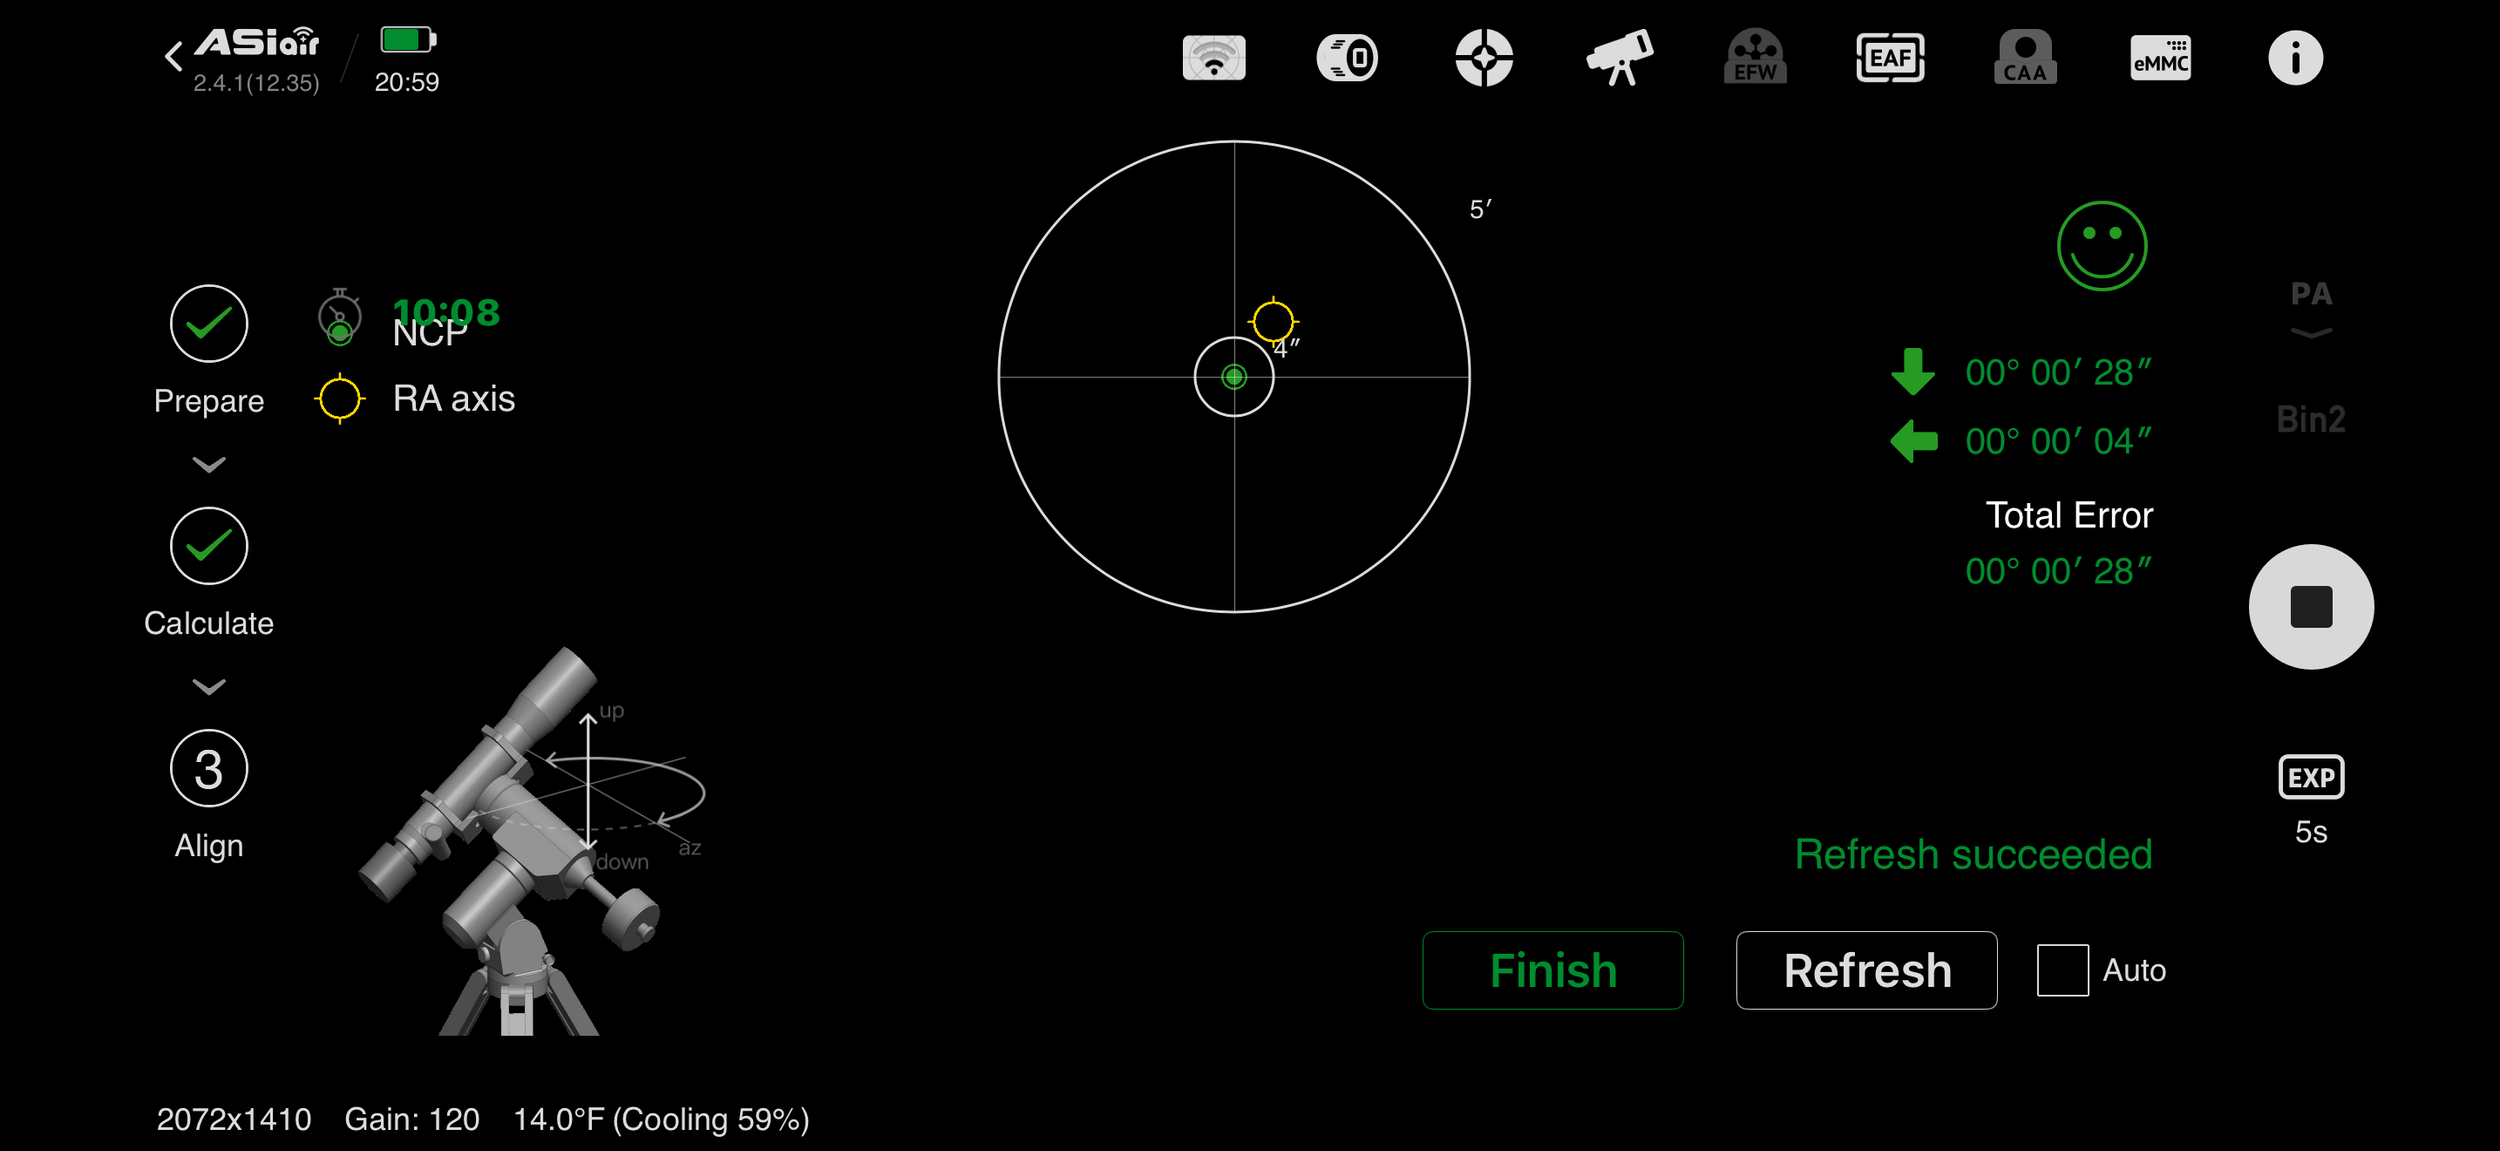
Polar Alignment
Polar alignment went smoothly without the filter for reliable plate-solving. I found that, after removing all filters, the software on the ASI Air reads the camera's data well for a quick polar alignment.
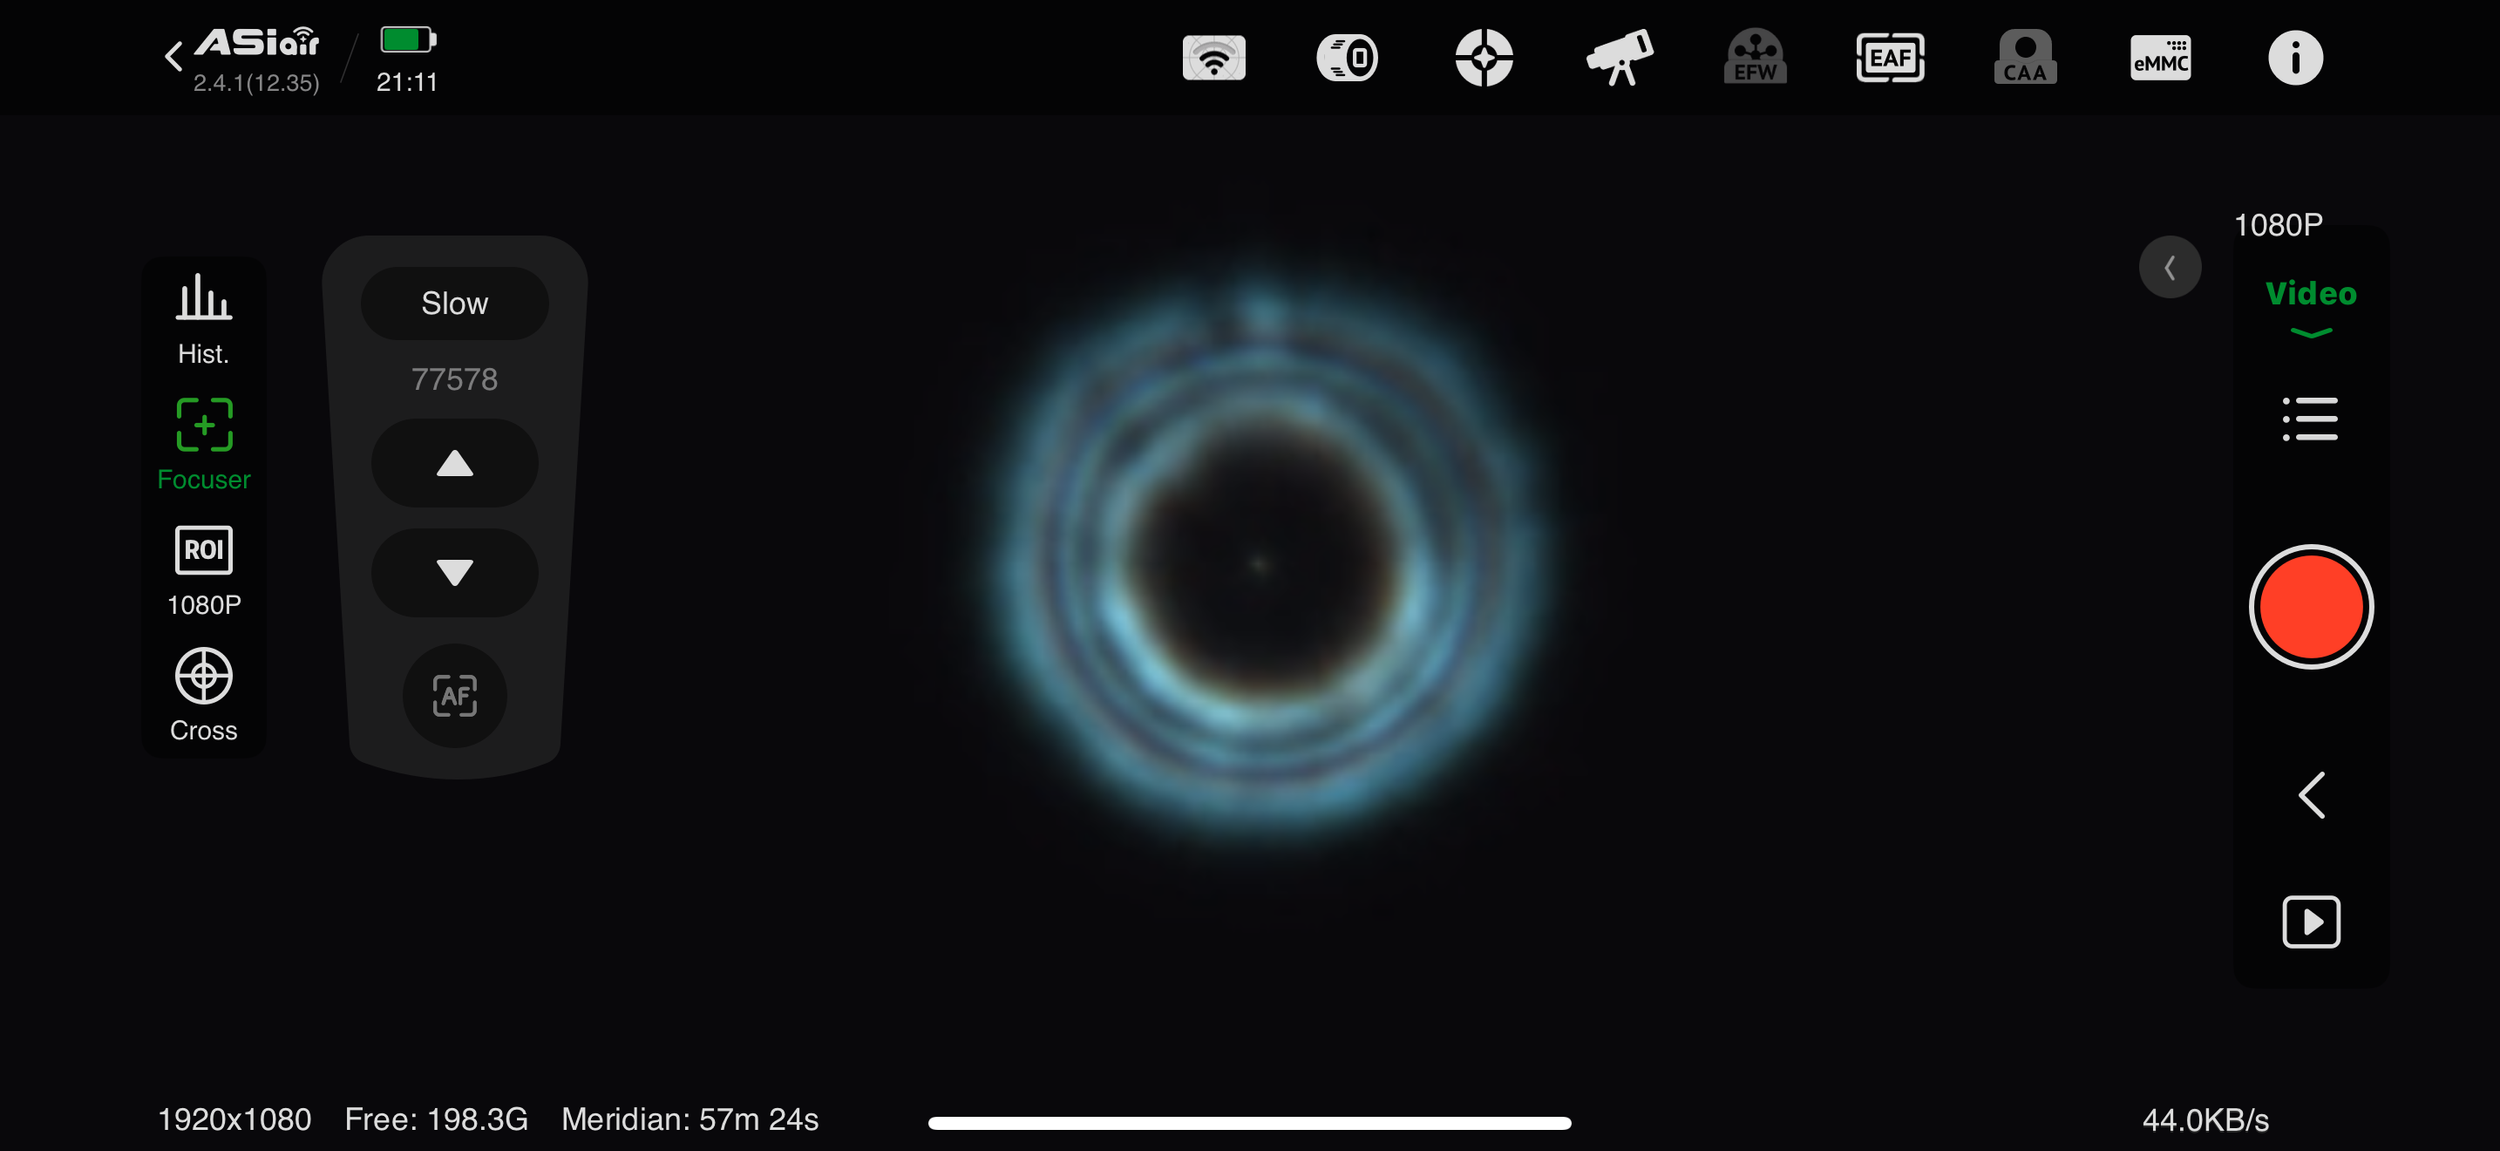
Collimation check with defocused star
A defocused star check confirmed perfect collimation. Always check your collimation before each session when using an SCT or Newtonian-style telescope. The mirrors have a tendency to move ever so slightly, which will result in elongated stars and less than stellar overall focus. By this time, bugs began to swarm, so I deployed my fan and mosquito candle for protection.
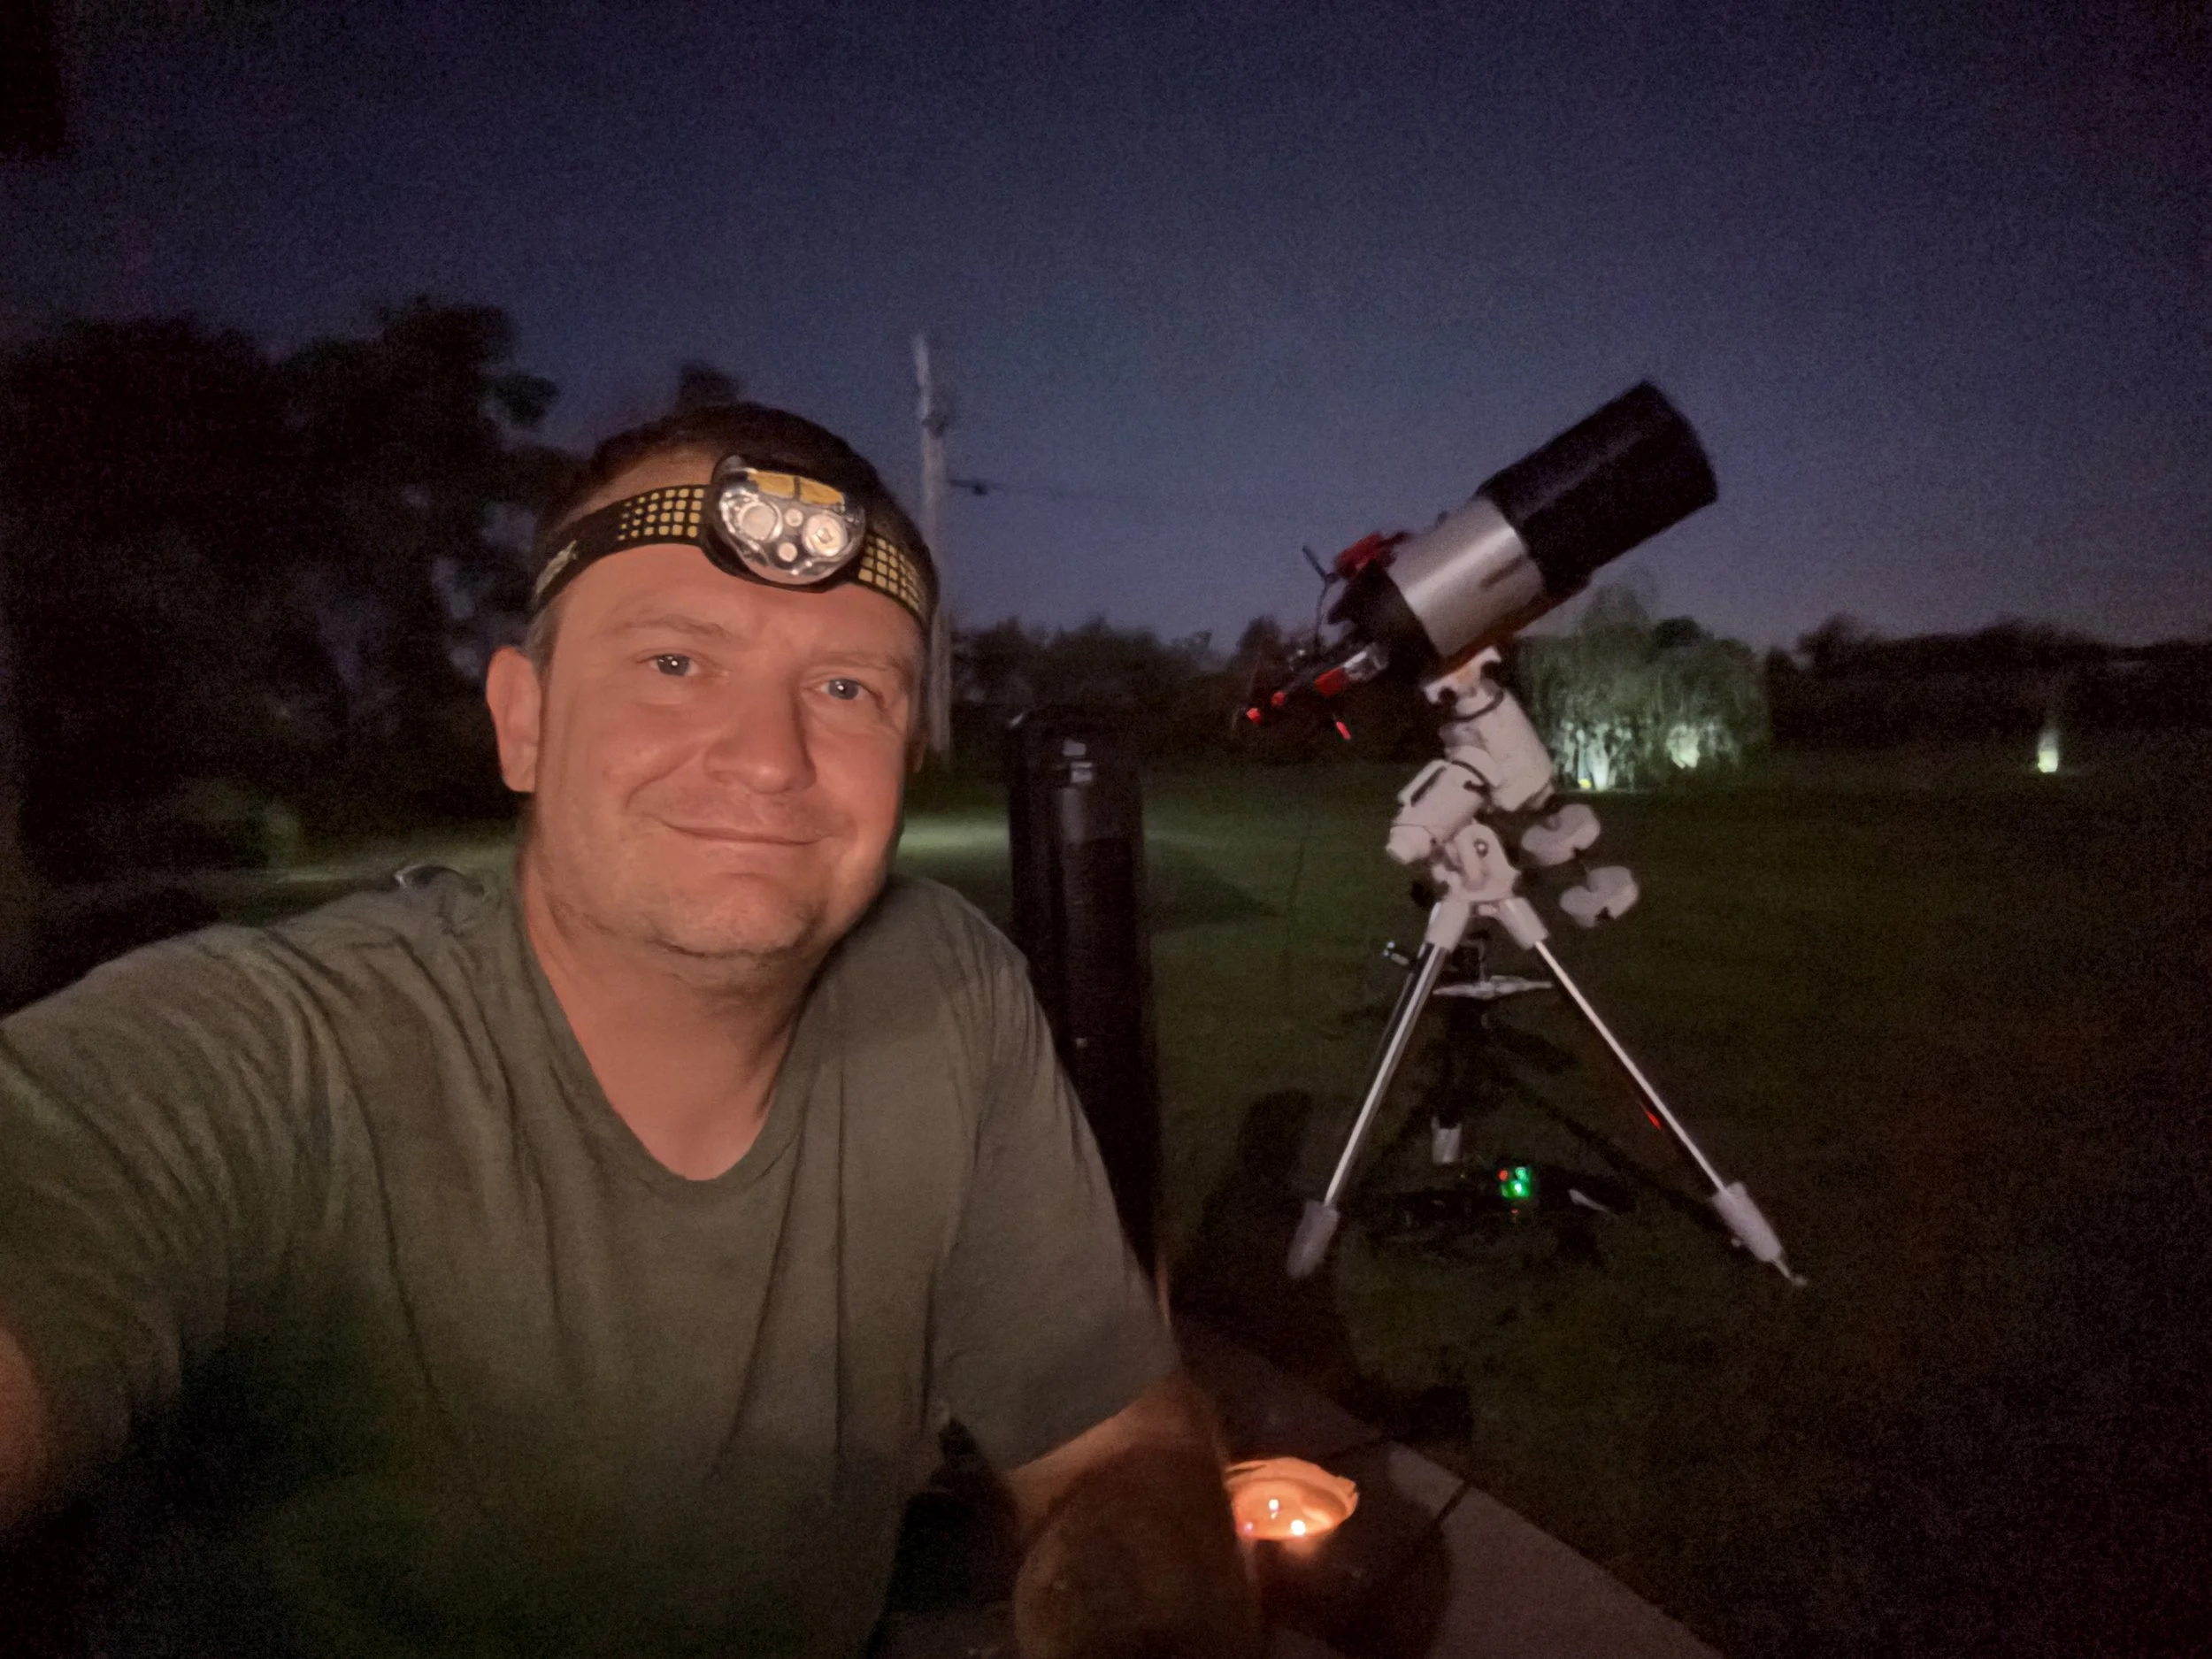
Small fans and mosquito candles work wonders!
After rotating the OAG to obtain the field of view I was looking for, I locked in an ideal crop. Here is where some of my troubles came in. I had already calibrated my guide scope, but I made several small adjustments to my FoV. I didn’t think about it immediately, but by rotating the OAG, I was also altering the guide calibration. Once I figured out that was the source of my guiding woes, I quickly recalibrated and was locked in for the duration.
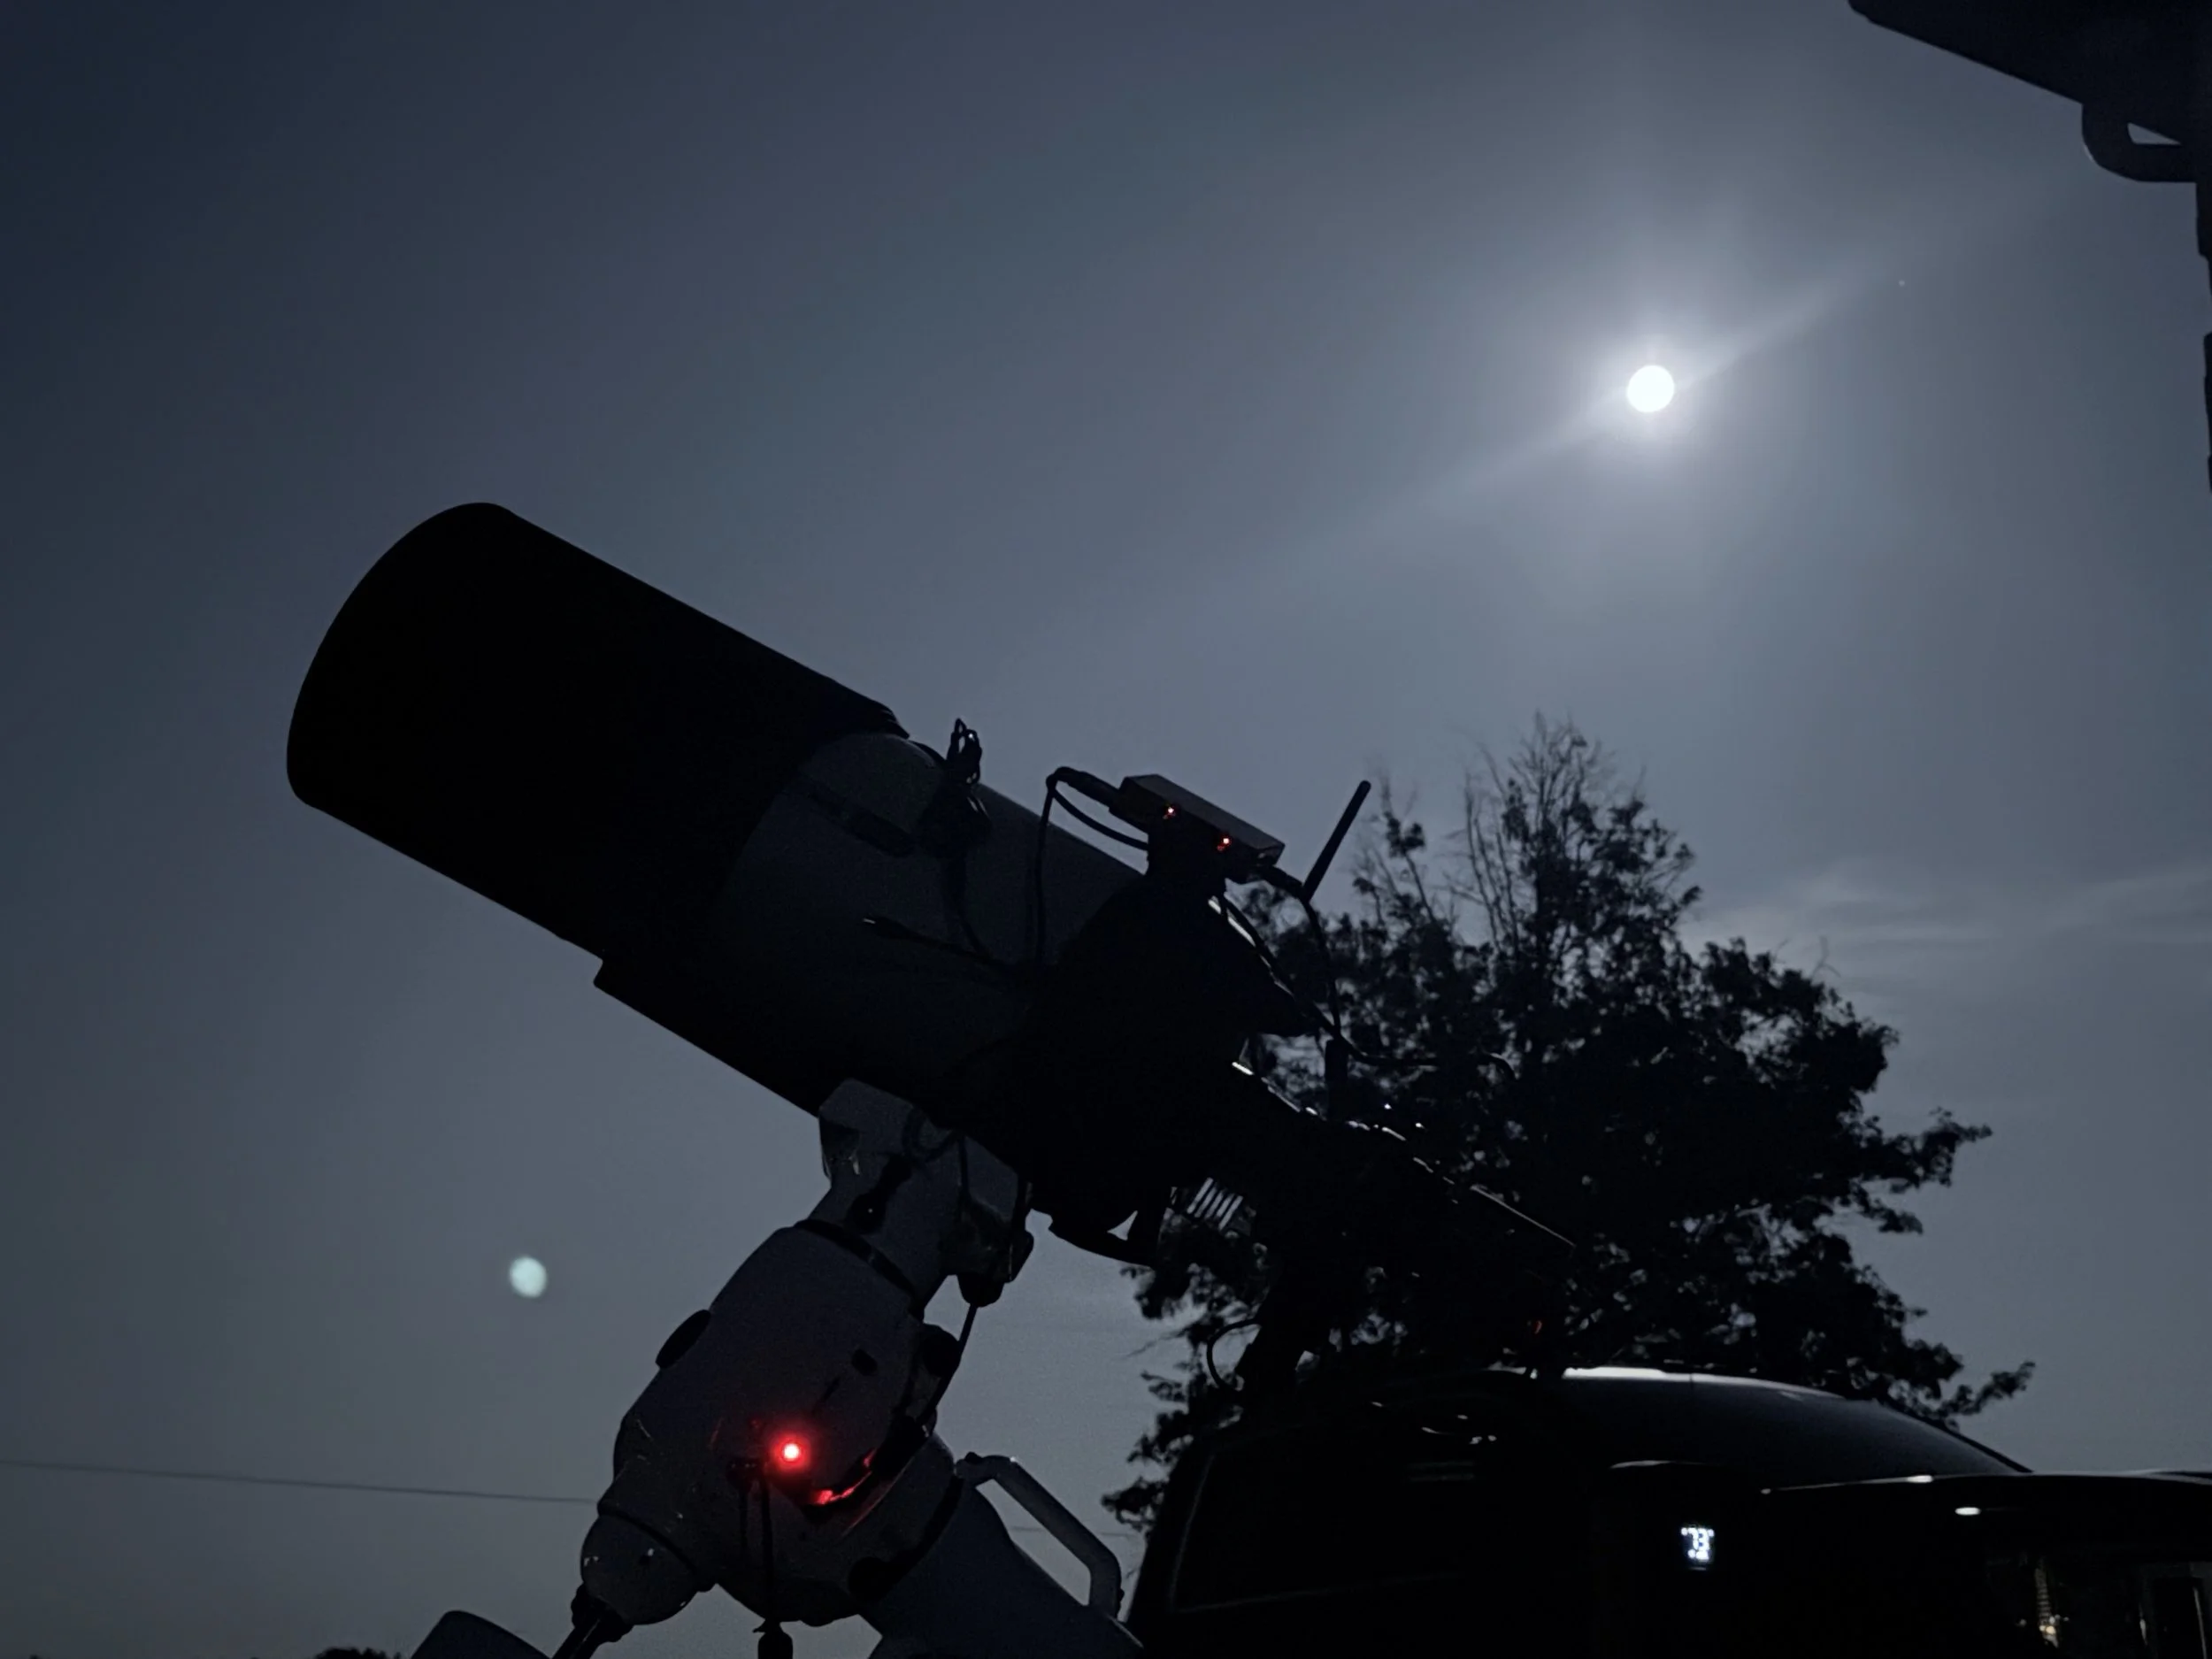
Near full moon means heavy filtering!
The nearly full moon loomed overhead, so I chose to use for the first time my new L-eXtreme filter. This filter did an amazing job cutting through the light scattered across the night sky by the overwhelming moon and the light pollution emitted by Nashville in the distance.
I was finally able to begin imaging around 10:30 pm, with guiding rock-solid (RA 0.22", DEC 0.11", Tot 0.24"). I did not want to start that late, but the delays were due to ice forming on my primary camera sensor from the humidity and my persistence in obtaining the perfect crop with adjustments to my FoV.
I stayed up for about an hour to ensure everything was running smoothly, and went to bed knowing I had programmed my Autorun features correctly to secure 60 frames by 4:00 am.
Come morning, I was able to obtain my flats (20x2.3s) and dark flats (20x2.3s) without a hitch. I then removed the scope from the mount and stored it in my garage for the day. I did not touch my mount as I wanted to ensure a quicker setup that night to begin imaging earlier, so I could collect as much imaging time as possible.
Tip from the Ledge: Warm the sensor to 40°F if ice forms, cool down, and delay flats if needed to get right into your imaging session.
Nashville’s Light Pollution

Fantastic-looking subframes are beginning to roll in!
Night 2: Recovery and Extra Data (August 10-11)
After night 1, I accidentally shifted the image train while storing the scope in the garage. When I set my scope on the table inside my garage, the OAG was tilted downward for a better FoV, which struck the table. I panicked for a moment, but then realized nothing was damaged, and ASIAIR does a fantastic job of ensuring you have the same FoV when retargeting past images. I knew this was going to require a re-check of the collimation and the FoV. However, setup was quicker with the mount left in place, and thankfully, the FoV was appropriately corrected within minutes.
Polar alignment held steady by leaving the mount in place all day. The sky showed northern light pollution, but transparency was much improved on this night, compared to the previous night.
Imaging began around 9:30 pm this time, which directly resulted in more imaging time overnight, yielding 70 frames by 4:00 am. On this night, my focus point shifted several times throughout the night (from 78952 to 78734) as temperatures fell from 73.5°F to 68.5°F. I cannot begin to tell you how invaluable an EAF is to this hobby! It doesn’t take much ambient change in the air to alter the quality of the image. The EAF worked hard all night, as evidenced by the amount of change in the focus point.
A few dither settles timed out during the night due to passing clouds, but overall, my guiding stayed strong.
Tip from the Ledge: Mark your image train for multi-night sessions to avoid accidental shifts.

Atmosphere was a little better on the second night of imaging
The Data
As I mentioned, this was my first time conducting a multi-night imaging session on the same target. But it was well worth the time and effort to collect so much data to significantly reduce the signal-to-noise ratio and greatly increase the overall quality of the image. I was absolutely stunned by the final result!
In total, I collected the following for this target:
Light Frames: 130 frames (300s, Bin1, L-eXtreme) totaling 10.8 hours.
Calibration Frames (Morning of Aug 10):
Flats: 20 frames (2.3s, Bin1).
Dark Flats: 20 frames (2.3s, Bin1).
Darks: 20 frames (300s, Bin1), which I have stored as my seasonal master frames.

Unprocessed stacked image in Pixinsight
Lessons from the Ledge
Ice Fix: Warm to 40°F and cool down to clear sensor ice; delay flats if needed.
Filter Trick: Align and plate-solve without filters for accuracy.
OAG Rotation: Reset guiding after rotating; mark positions for multi-nights.
Moon Prep: L-eXtreme filter excels against bright moonlight for emission nebulae.
Multi-Night Boost: 10+ hours of integration reveals faint details like Bok globules.
Processing Insight: PixInsight’s Gaia DR3 integration and multi-pass sharpening/denoising are game-changers.
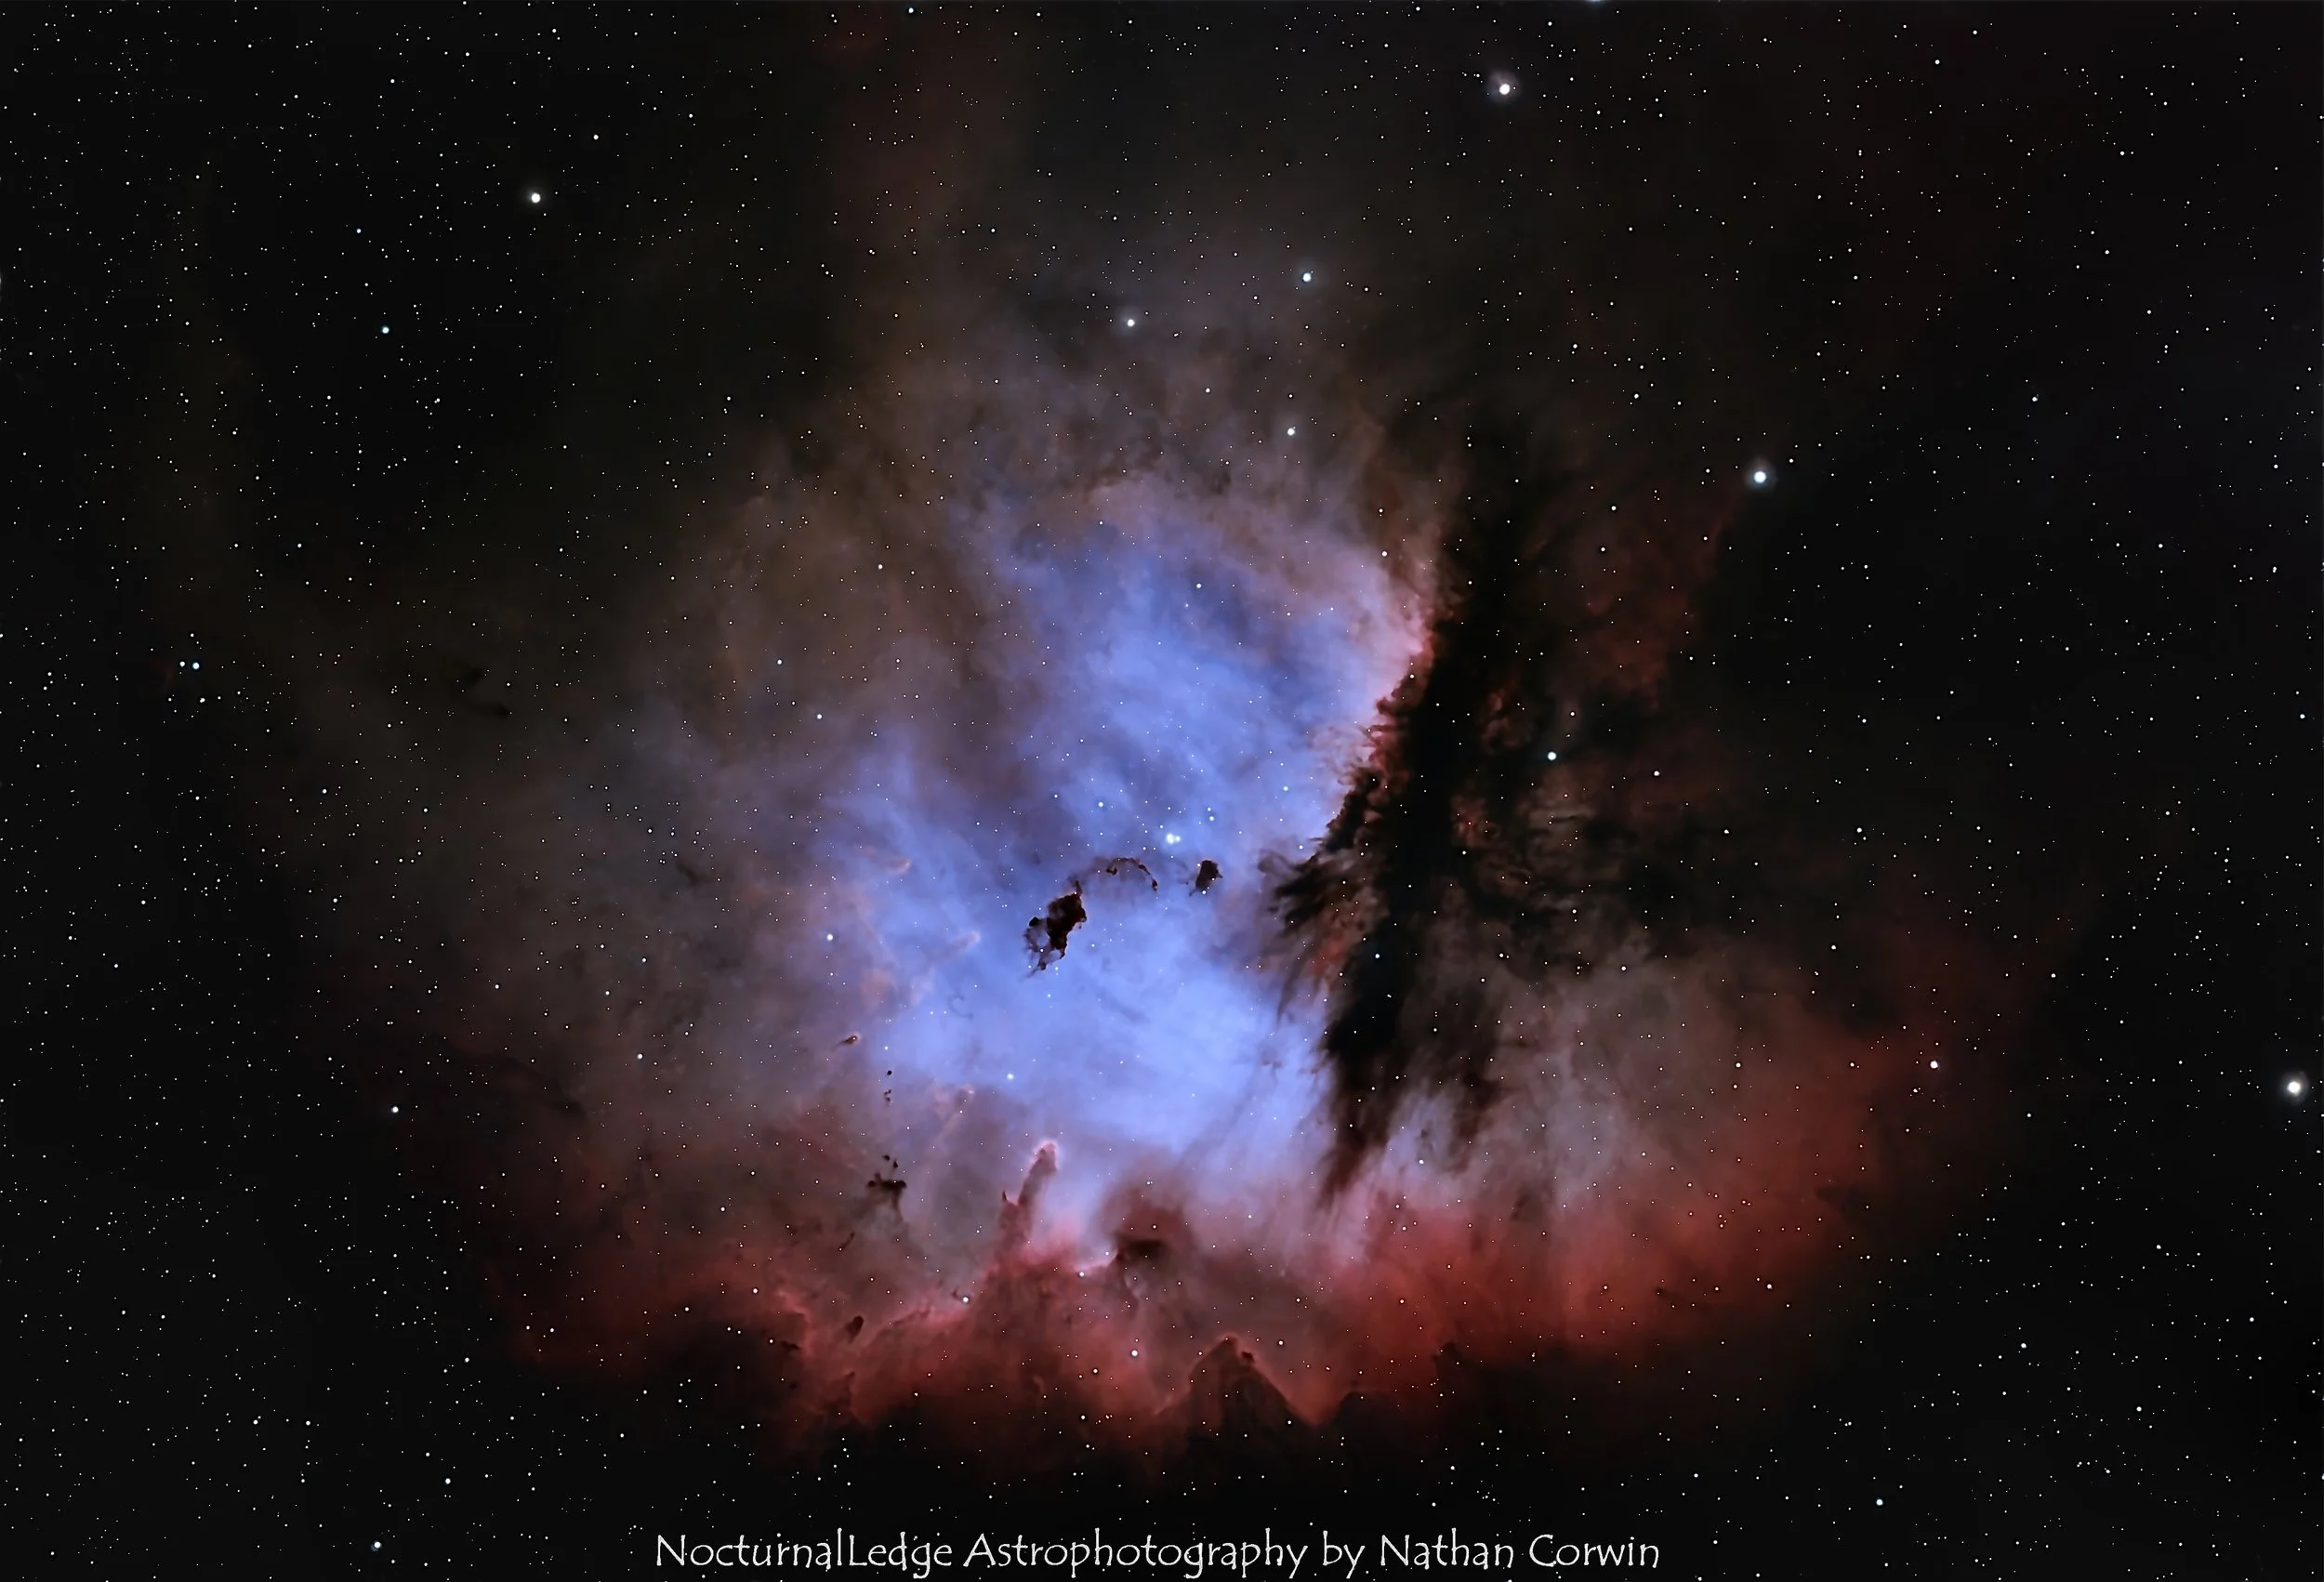
Pac-Man Nebula (NGC 281)
Looking Ahead
This 10.8-hour stack unlocked incredible depth in NGC 281—my finest capture yet! The ASI294MC Pro and L-eXtreme duo conquered the moonlit challenge. Next, I’m eyeing a darker target with the waning moon. From the NocturnalLedge, here’s to clear skies and bug-free nights!